First let me disclose that almost nothing went right with the building of this garden. So what you are getting from me is a “Don’t Let This Happen to You” advisory.
My first mistake was asking the lovely fellow who does my grass and plows me in the winter if he could level the back yard to create a level 20’x40′ garden area and put up some privacy fence if I ordered it from the local big box store. He told me he’d never done the fence before but he’d be happy certainly to level the yard and do his best.
Now he did do his best and it was ten times better than I could have done. But I should have called a professional fence installer. He ran into rock and couldn’t get the posts in deep enough and because we put the fence in just after adding fresh dirt, as the dirt settled and the winds battered the fence, it started to move.
That said, the bracing we put in on the fence and in tying the fence to help it resist wind, have given me five good years on that fence with more still to come. So the fence still gives me my lovely little garden, but it does it at a tilt with more contraptions supporting it than you’d expect, and gateways that require a bit of maneuvering to open and close.
Open to hear the whole sad tale
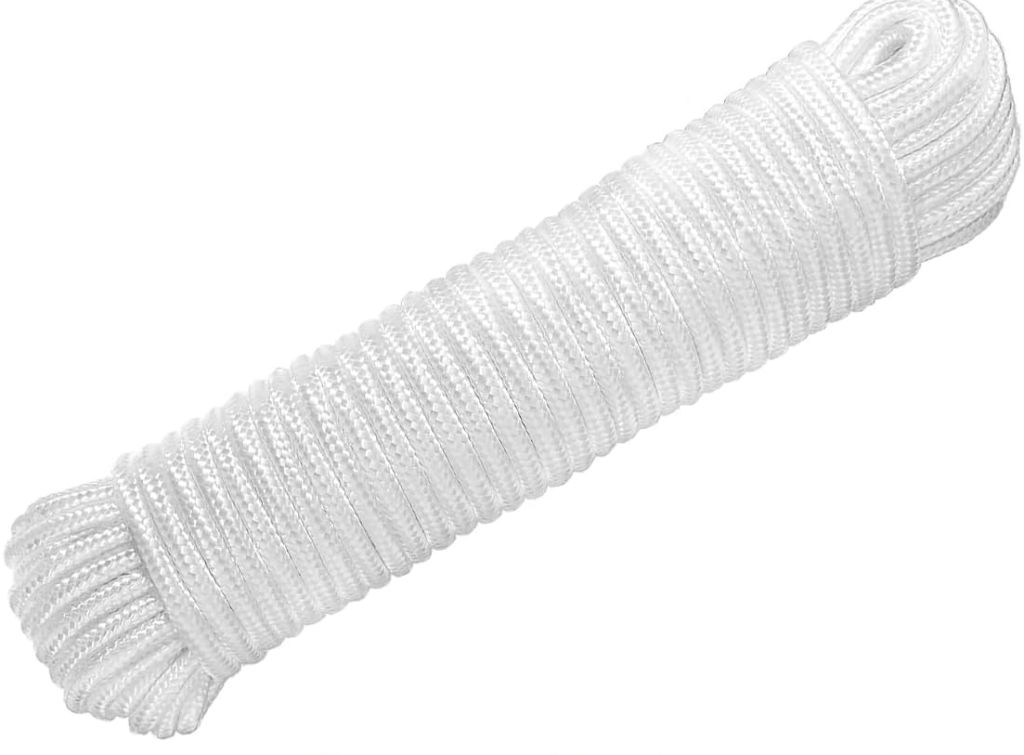
Quarter Inch Poly Rope
This is clothesline or swing rope, relatively good survival rates int the outdoors.
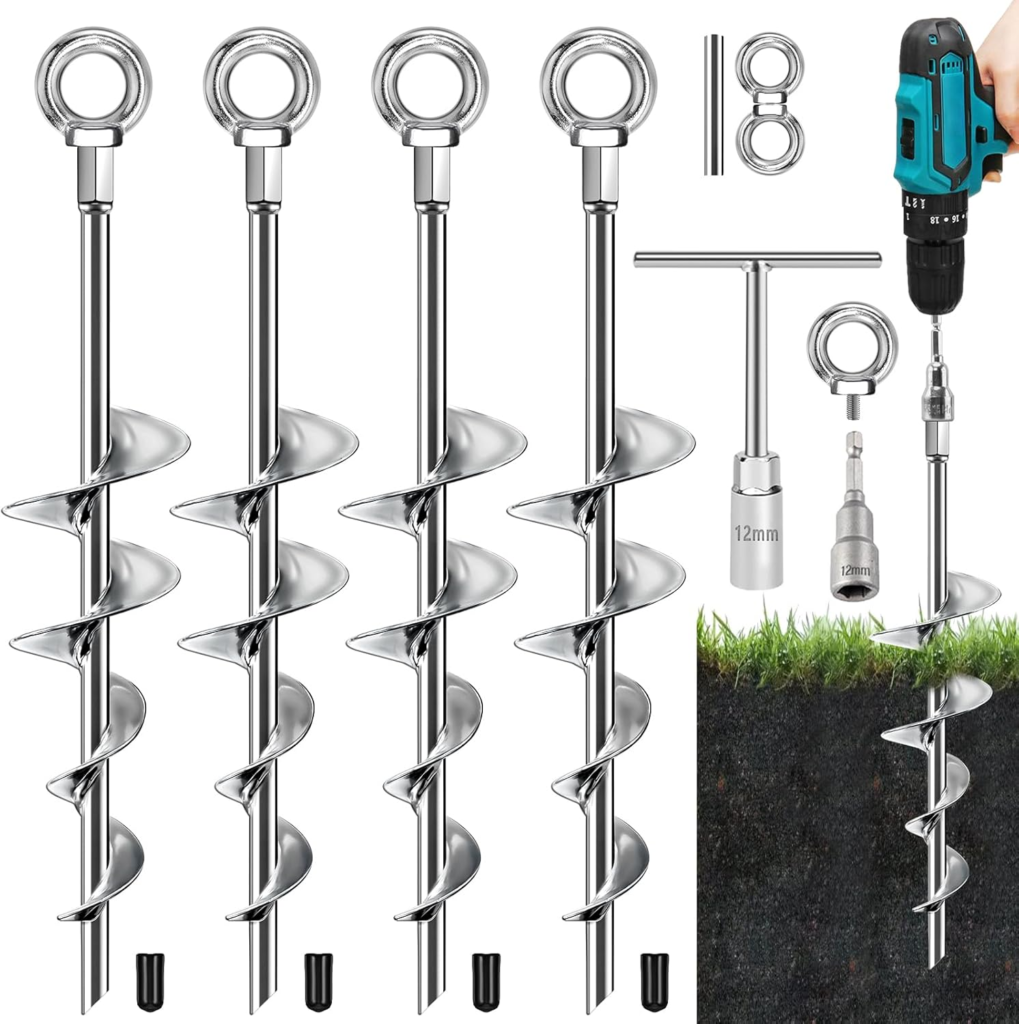
Augur Stakes
The augur stakes were straightforward ones that required some strength to get them into the ground. Luckily, I didn’t have to do it.
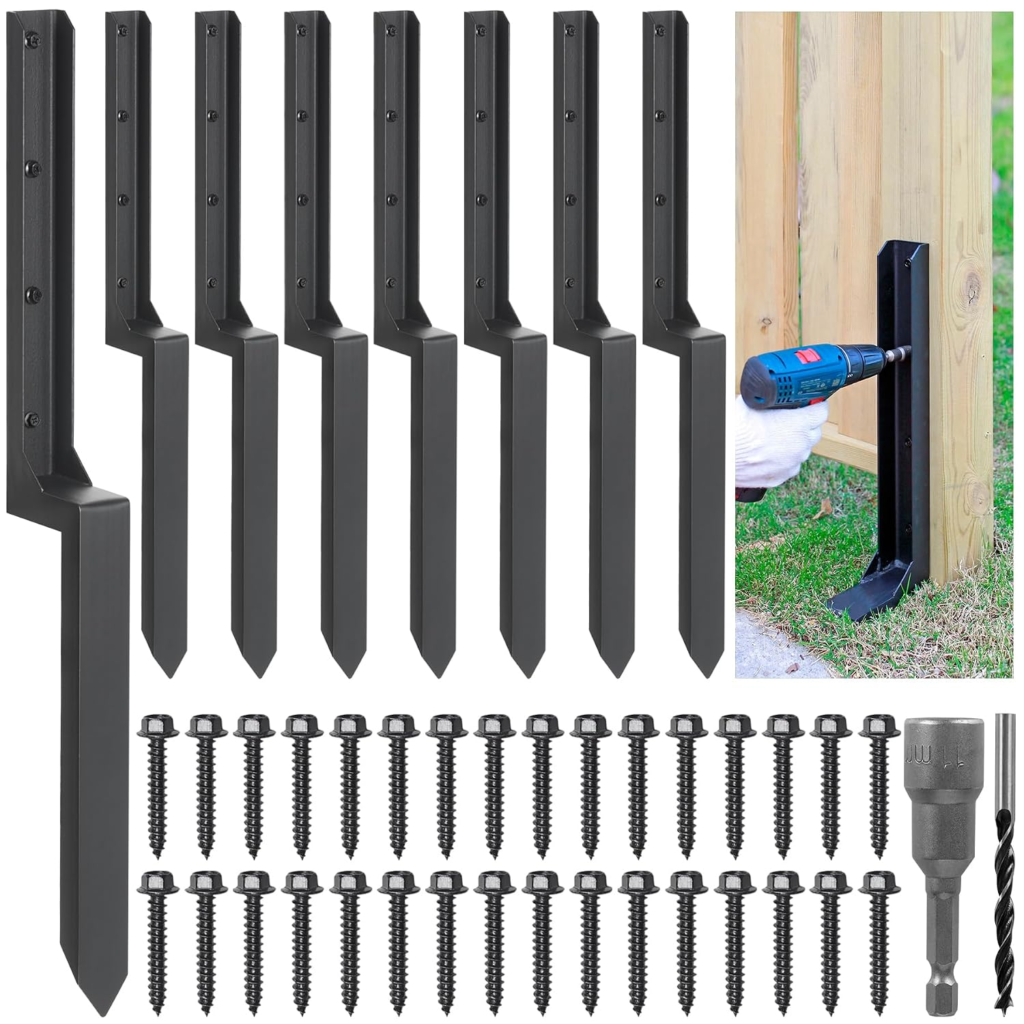
Fence Reinforcing Stakes
These massive steel braces line up and attach to the fence posts but press deep into the groun about 2 inches away from them in parallel. They serve to reinforce the stability of the vertical post.
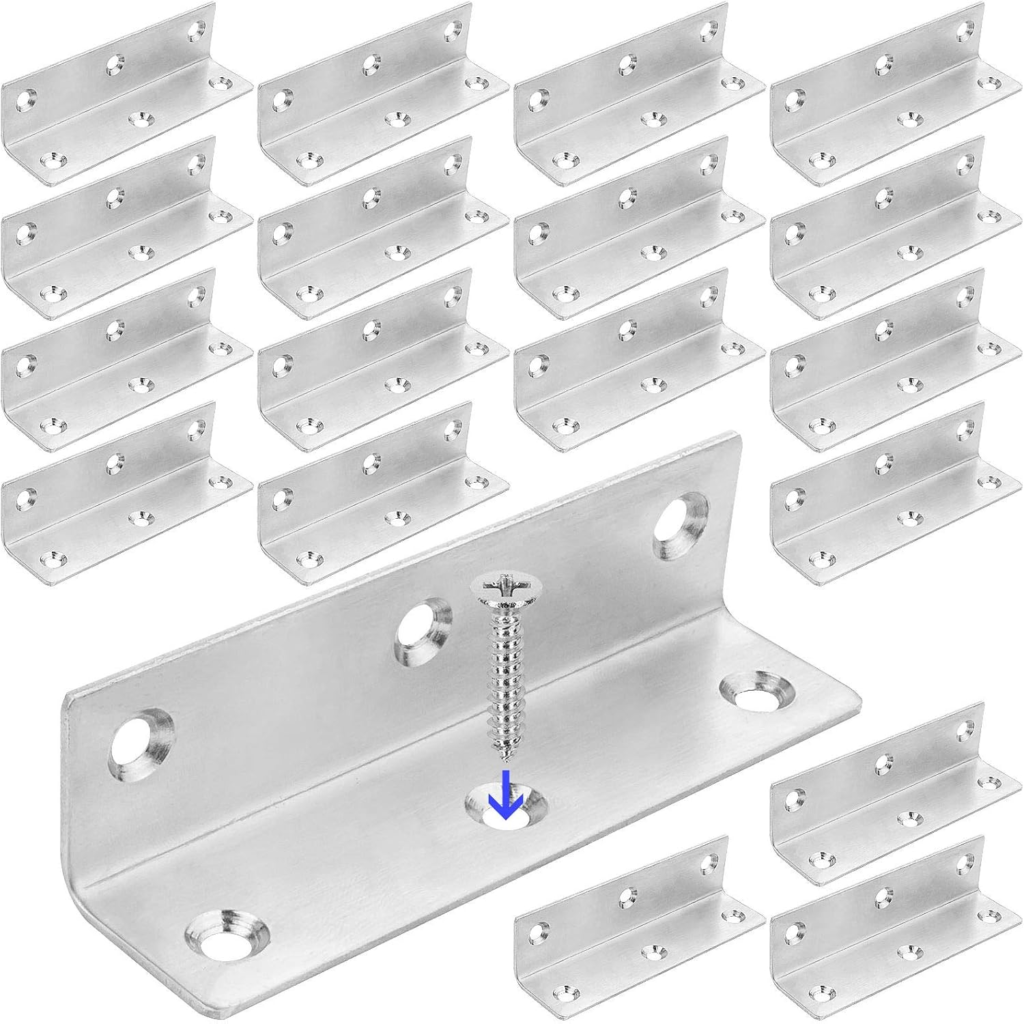
Corner Braces
These were simply to ensure that the cross bars in the fence stayed where they were supposed to be as inserted into the posts of the fence. We put them in in year 3 when we noticed that the resin fence panels had bowed from the wind pressure exerted on them.
The following year, noting that the panels were leaning, we added reinforcing plates to help the posts stay vertical and tied the fence against its list with guy wires and augur stakes. But by now, the fence had changed shape and the gates didn’t fit right any more. Those are things I still live with, so, again, don’t let that happen to you.
And, worse, we’d sowed grass on the fresh dirt that first year, so now, as I planted, I was faced with having to mow the garden weekly, something that was anything but pleasant, given that it required I move among plants carefully.
Rewind
So if I had this to do over again, the right way to approach it would have been to have my landscaper friend level the ground and come by several times to compact it before I even thought about calling a fencer. Once the dirt was settled, we should have planted clover on it. That would have been enough to keep the dirt from drifting back down the incline behind the fence, but it would not have required the weekly mowing the grass does.
When the fencers came, I should have asked them to do some shoring of the fence even before it required it, because I get a lot of winds from the south because there is nothing blocking me from that direction. They would likely also have run into the rock that prevented the posts from going all the way down, but I’d have asked them to reinforce the posts, again before they required it.
Those changes should have given me an upright fence that didn’t go walkabout every winter, with a ground covering that could be planted in and did not require mowing.
Ungrassing
The most difficult project I’ve undertaken has been the un-grassing of the garden. I started by putting down heavy duty ground cloth along the borders where my plantings were, and leaving holes just for those plants to come through. I did that late in the summer. I bought two cubic yards of medium sized gravel, and I used the gravel both to cover the groundcloth for an esthetic appeal and to keep the cloth in place.
Open to learn how I degrassed the gardens with gravel
At my age, I probably should not have been hefting gravel about. But I did and I lived through it. I used a wagon, a coal shovel, and a large scoop to do the business of getting the gravel off the pile and getting it onto the ground cloth. I started with medium sized gravel — pieces about an inch each. They are less apt to move about, which is what I wanted.
I had about 160 square feet of garden to tarp with groundcloth and cover with gravel. I did an eight by two foot panel each day and it was done in about two weeks with time off for good behavior.
Step 1 was to take gravel off the impressive pile on my side lawn and get it into a wagon so I could get it to the garden. I used a sort of coal shovel to pick it up and filled my wagon. I didn’t push myself. When the wagon was full, I moved it down to the garden.
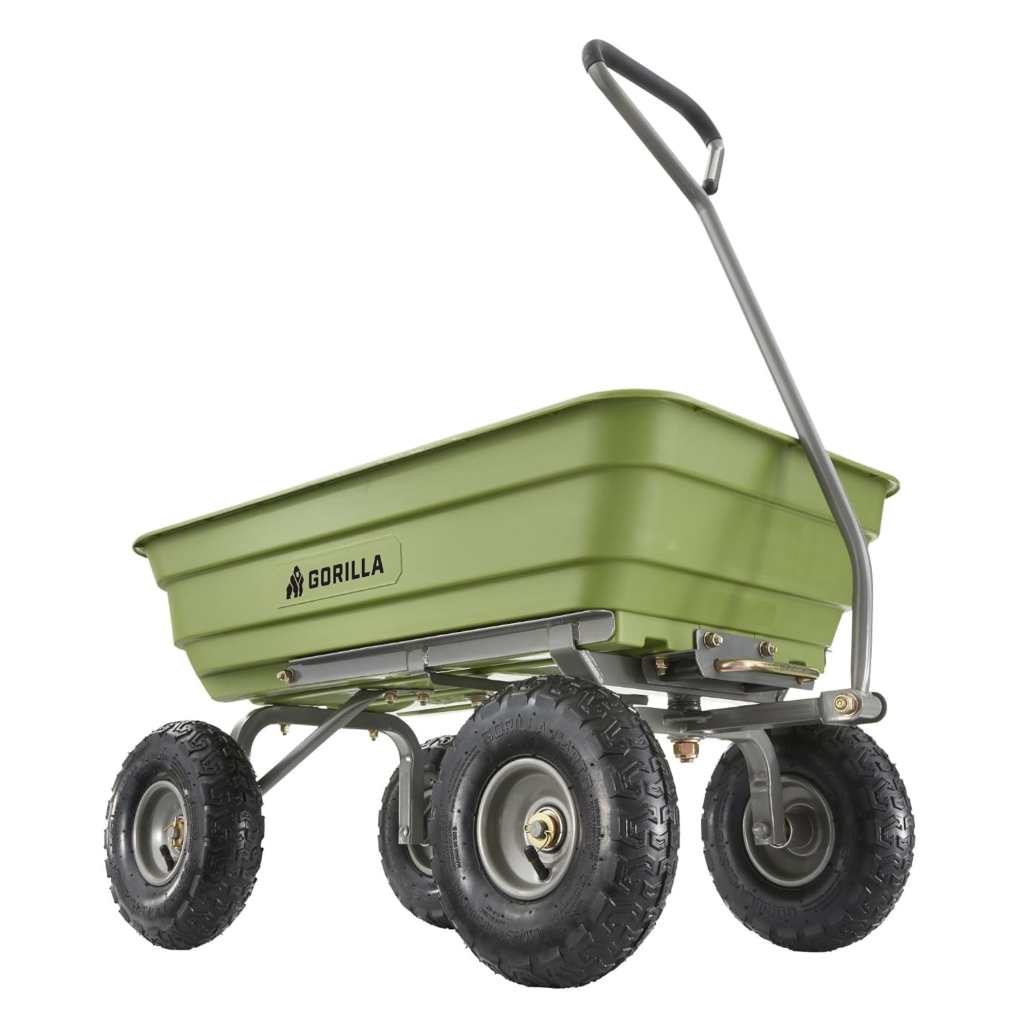
Gorilla Cart
I had a wonderful garden wagon, but it has an open bed so I need a closed and very hardy wagon to help me tote the gravel about. This wagon held about 12 shovelfuls — enough to reach the top of the wagon — and, with its inflatable tires, rode smoothly down the hill from the stash of gravel to the garden. Even thout it was tugging a lot of weight, i found it easy to handle.
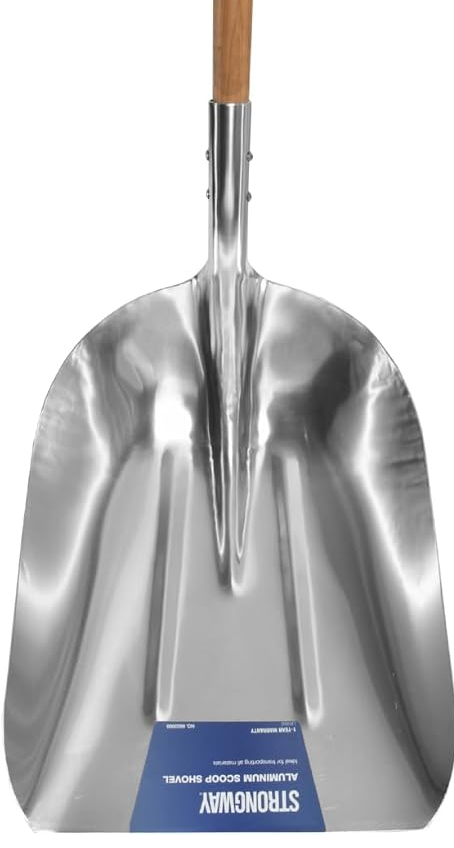
Strongway Shovel
This is a slightly different shovel than the Strongway shovel I have. It’s got a 24″ handle rather than a 30″ — a change I think is for the better. The shovel is strong and made of steel and will not bend or dent shovelling the gravel. The sides allow you to hold a fair amount of stone and deposit it cleanly into the wagon.
Now, I had laid the ground cloth before I went up to get the gravel. On days that it was windy, I used some four inch lawn staples to keep the corners in place for me.
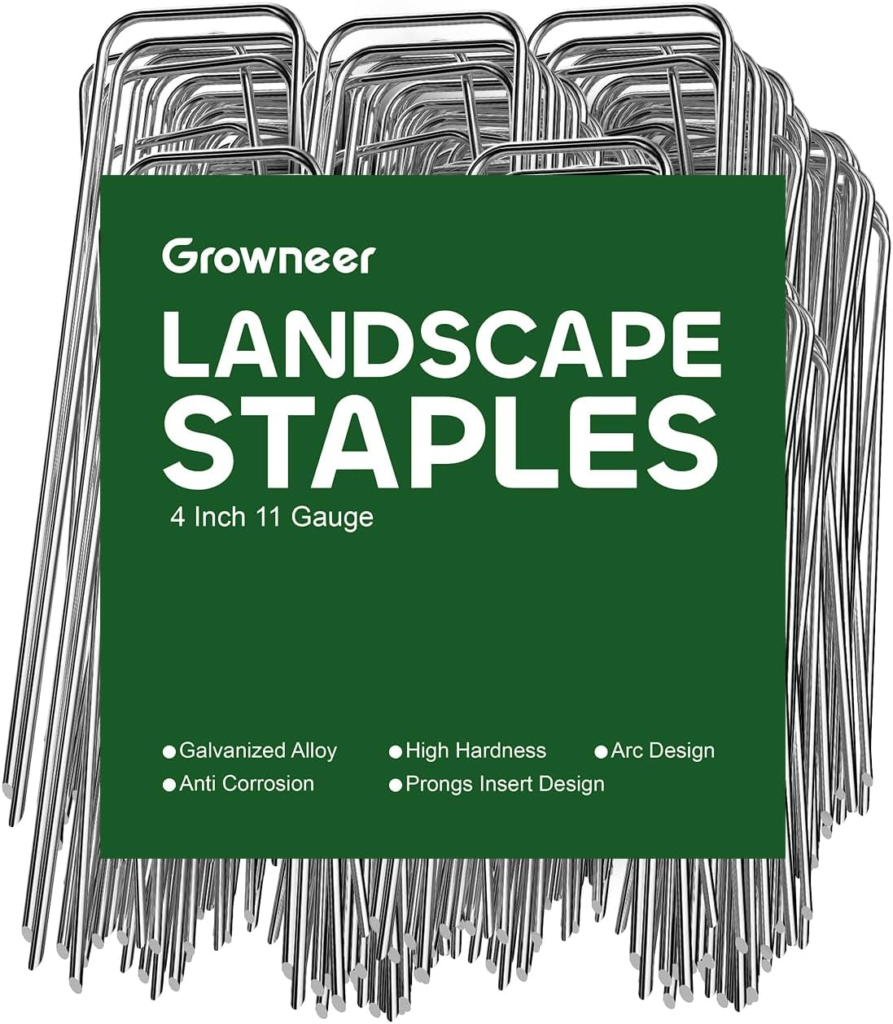
Growneer Landscape Staples
I have these short ones and some six inchers. Both work very well to tie whatever you need to down. They serve as tent stakes and, for me, hold the ropes that keep my birdfeeder poles level, and they secure chicken wire in places I want to block from squirrels. They are actually made to hold down ground cloth. And that is what I used them for. To use one, you hold it at a slight angle and push it through the cloth into the earth. Put the next at an opposing angle.

New Star Aluminum Scoop
I laughed when I received this. I knew I’d ordered a scoop several times larger than my birdseed scoop, but this thing looked like something a giant would garden with. That said, it was the perfect scoop for me to ladle the gravel from the wagon and place it strategically in the garden without hurting the plants. The shovel would have been too clumsy.
To kill the grass in the rest of the garden, I didn’t want to use any poisons or chemicals, so what I have done is methodically moved an 8×10 indoor outdoor rug around. It takes about two months to kill the grass under that rug. And once the grass is gone, I aerate the dirt and plant clover. We are getting there, though I still have an edging of grass and in some places the grass has beaten up the clover and prevailed. I really wish I’d never put in grass.
Closing the Bottom Gap
In an ideal world, your fence comes almost to the ground. But the reality is that there will be gaps large enough to allow medium sized creatures to come and go underneath the fence. You won’t get elk or bears, but you may get skunks, squirrels, and even less attractive creatures.
And, if you’re got pets you might have out there, there will certainly be enough room for a cat or a small dog to dig their way to freedom.
We put two layers into the gap at the bottom of the fence. The first was resin lattice that was both attractive and effective at blocking most larger creatures like raccoons and skunks.
White Lattice 2×8′ Panels
We picked these up from Home Depot and, since they were two feet wide and eight feet long, got one for each fence panel. Since both they and the fence were vinyl, we used the vinyl glue to join them. The lattice panels fitted tightly between the posts and sat on the ground.
Unfortunately, the holes in the lattice are (surprisingly) large enough for grey squirrels to get through. I knew I wasn’t going to be able to block the chipmunks, but I hoped to block the squirrels.
Once the gardens were in and graveled up, I wanted to stop the squirrels from getting in, too. So then I bought fencing that could do double-duty — block the squirrels and keep the ground cover securely in place.
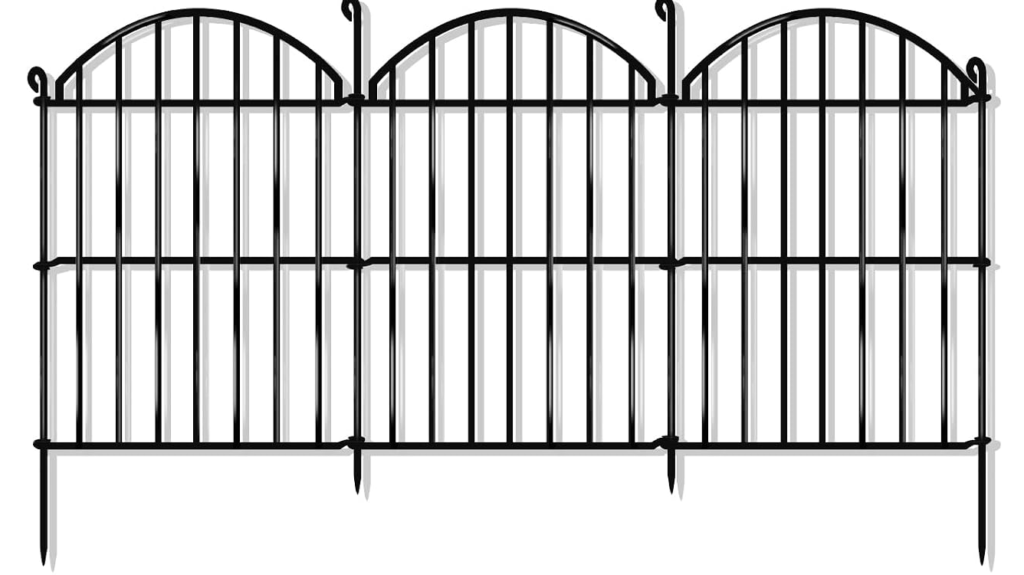
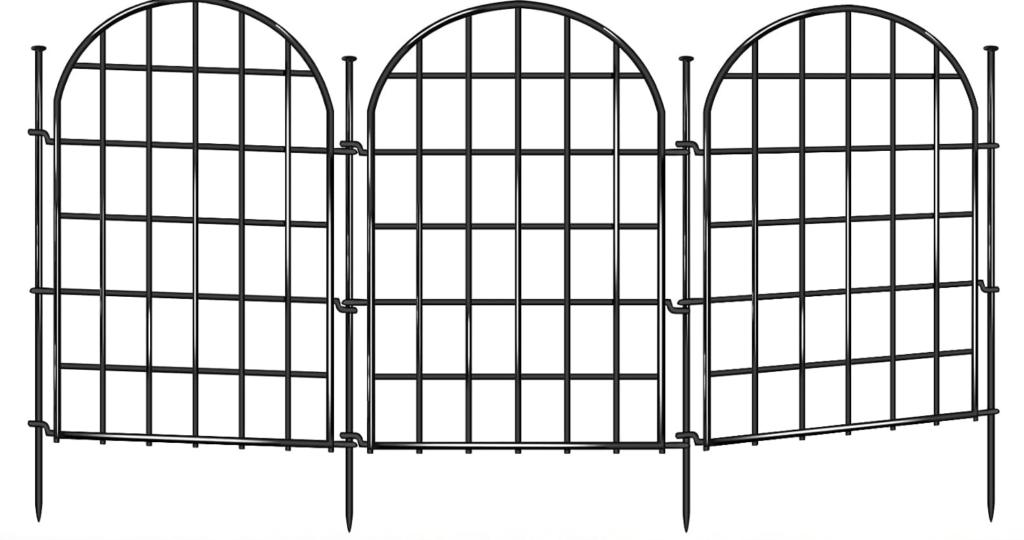
No Dig Fence
These fences are sold to keep Fido from digging under a fence. I used both of these. Both are weather safe and haven’t rusted in the two years I’ve had them out. Both work by joining panels together by sliding a pin down through the hooks on each of the two adjacent panels. I like the shape of the ones on the bottom, but the ones on the top were easier to get into the ground because the rubber hammer could mor easily get to the top of the pin.
Because I wanted to get these fence panels to stand flat against the vinyl of the privacy fence, I started the first panel right in the corner where the fence met the panel. Since the panels join like a chain, I then moved down the fence putting each panel up against the fence, threading the pen through the holes and then ensuring that the pin secured the ground cloth as it went in. At a corner where there was either too much or too little fence, I overlapped the post to make sure all holes were blocked.